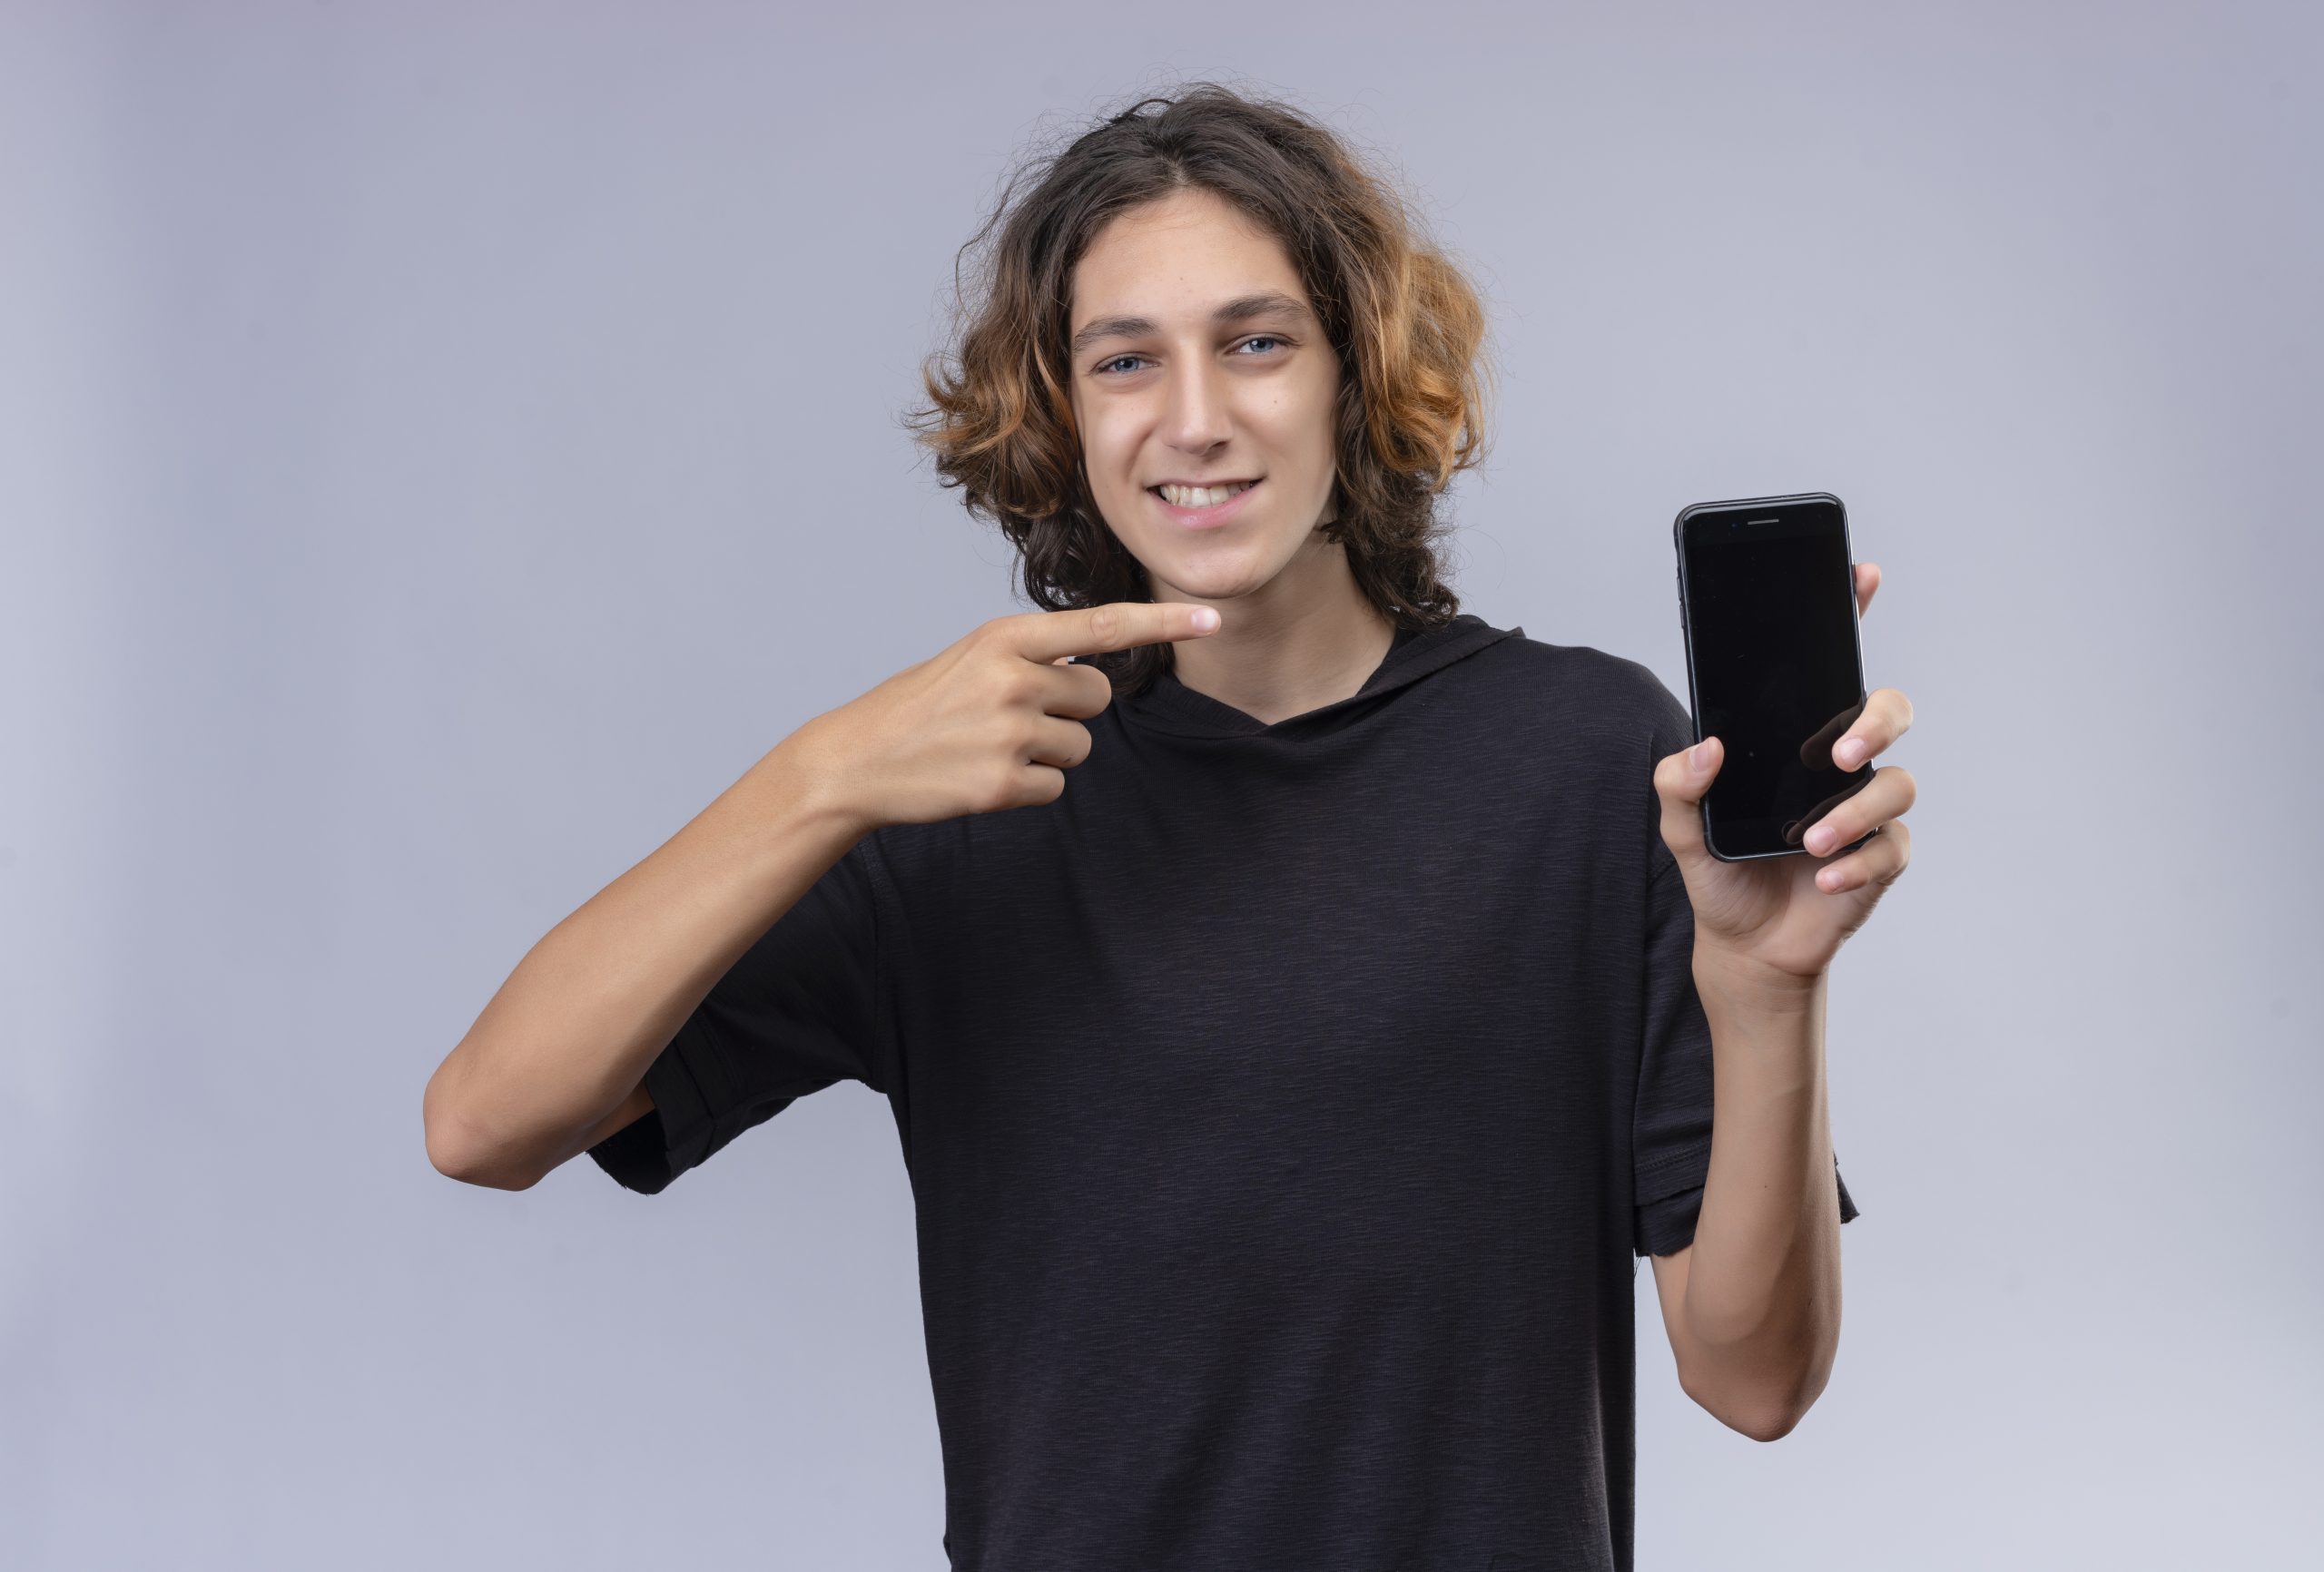
Thanks to major improvements in smartphone camera technology, taking professional headshots with an iPhone is easier than ever. Whether you’re updating your LinkedIn profile headshot, building a personal brand, or creating content for your business, your iPhone can capture clean, high-quality headshots without the need for a studio setup. This guide walks you through each step to achieve polished, professional-looking results right from your phone.
Steps to Take Professional Headshots with an iPhone
• Choose the right location with natural lighting
• Set up your iPhone correctly
• Use portrait mode for depth
• Pay attention to composition and framing
• Use a tripod or stable surface
• Choose the right outfit and background
• Master your pose and expression
• Edit your headshot for a polished finish
Choose the Right Location with Natural Lighting
Why lighting matters
Lighting is the single most important element in photography. It defines the mood, sharpness, and overall clarity of your headshot. The best lighting for iPhone headshots is soft, natural light, which adds a clean, professional look without the harsh shadows caused by overhead bulbs or direct sunlight.
Best lighting setup
Position yourself near a large window with diffused daylight. Avoid direct sunlight, which can cast harsh shadows and blow out details. Early morning or late afternoon light tends to be softer and more flattering. If you’re shooting indoors, turn off any overhead lights and rely solely on window lights for a more consistent look.
Pro tip
Face the window head-on or at a 45-degree angle to get even, flattering lighting on your face. If needed, use a white foam board or wall to bounce additional light onto the shadowed side of your face. This setup is especially helpful if you plan to use the image for tools like the AI background remover which work best with clean lighting and contrast.

Set Up Your iPhone Correctly
Camera settings to check
Use the rear-facing camera: It has a higher resolution than the front-facing camera.
Turn on Gridlines: Go to Settings → Camera → Grid to activate the rule of thirds.
Enable HDR: High Dynamic Range helps preserve detail in both highlights and shadows.
Turn off Live Photos: It’s better to work with still images for easier editing.
Keep Lens Clean: Wipe your lens with a soft cloth to avoid blurry or hazy images.
Focus and exposure
Tap your face on the screen to set focus. Once locked, adjust the exposure by sliding your finger up or down on the screen until your face is well-lit but not overexposed. Lock the focus and exposure by pressing and holding on your face until the AE/AF Lock appears. This is critical if you’re capturing a headshot intended for stylized transformation using a free image-to-image AI generator.
Use Portrait Mode for Depth
Why use Portrait Mode
Portrait mode simulates a DSLR-style depth of field by keeping your face sharp and softly blurring the background. This creates a professional, studio-like appearance and makes your headshot stand out.
How to use Portrait Mode effectively
Open the Camera app and swipe to Portrait Mode.
Make sure there’s enough distance between you and the background (at least 3–4 feet).
Tap your face to set the focus.

Use the f-stop slider (if available) to adjust the depth effect. An aperture of f/2.8 to f/5.6 gives a pleasing blur without making the image look artificial.
Keep the lighting conditions bright to help the iPhone detect edges accurately.
If you want to further enhance the blurred effect or replace it creatively, uploading your shot to our realistic AI photo generator can give your image a refined finish that works across platforms.
Pay Attention to Composition and Framing
Apply the rule of thirds
With gridlines enabled, position your eyes along the top third of the frame. This creates a more visually balanced and engaging photo than centering your face entirely.
Framing checklist
-
Eyes at the top third line
-
Shoulders visible in the frame
-
Headroom: Leave some space above the head, but not too much
-
Centered or slightly off-center: Centering is safe for corporate looks; off-center adds creativity
Keep the camera at eye level for the most flattering and natural perspective. These techniques are especially useful if you’re planning to apply AI stylization like the Studio Ghibli character maker, where alignment and pose strongly influence the final output.
Use a Tripod or Stable Surface
Why stability matters
Blurry photos are instantly unprofessional. A stable setup ensures sharpness and consistency, especially when you’re taking photos of yourself.
Tools and methods
-
Tripod with smartphone mount: Ideal for repeatable shots and hands-free posing
-
Alternative setup: Stack books or use a shelf at eye level, propping the phone with a heavy object
-
Self-timer: Set a 3- or 10-second timer to get into position
-
Apple Watch: If available, use it to preview and take the shot remotely
Stability also ensures your framing stays consistent across multiple takes. For self-taken portraits intended for stylized results, like a Tumblr profile picture, this becomes especially important.
Choose the Right Outfit and Background
Outfit selection
Dress according to your profession and purpose. A professional headshot should reflect your brand or the industry standard.

Dos:
Wear solid colors that contrast with the background
Choose professional attire (suit, blouse, collared shirt)
Stick to neutrals or soft tones for a classic look
Don’ts:
Avoid busy patterns, bright neons, or clothing with text/logos
Don’t blend into the background with similar colors
Background selection
Choose a clean, clutter-free background that doesn’t distract from your face.
Good options:
Plain white or light gray walls
Office environment with soft focus (thanks to portrait mode)
Outdoor locations with natural texture (e.g., greenery, brick wall)
You can always refine or replace your background using HeadShotly.ai’s AI image tools for a polished result or experiment with niche-specific options like architect headshots or coach headshots.
Master Your Pose and Expression
Posing for the camera
A strong pose can communicate confidence, approachability, or professionalism depending on your goal.
Posing tips:
Turn your body slightly at an angle
Keep your shoulders relaxed and straight
Look directly into the camera for confidence, or slightly above it for a softer gaze
Practice facial expressions in a mirror before shooting
Smile or not?
That depends on the use case. For corporate or legal professionals, a soft smile or neutral expression is best. For personal branding, a warm, natural smile helps build trust. If you’re targeting a specific niche like driver headshots, choose expressions that reflect approachability and reliability.
Edit Your Headshot for a Polished Finish
Why editing matters
Even a great photo can benefit from basic touch-ups. Editing helps balance the lighting, correct tones, and remove minor distractions or blemishes.
Recommended editing apps
-
Snapseed: Great for retouching, removing distractions, and fine-tuning lighting
-
Lightroom Mobile: Ideal for adjusting exposure, contrast, white balance, and sharpness
-
HeadShotly.ai: Advanced AI enhancement, background replacement, outfit swap, lighting correction, and overall polish tailored for professional use
Editing checklist
-
Adjust brightness, contrast, and white balance
-
Sharpen the image if slightly soft
-
Remove blemishes and flyaway hairs
-
Maintain a natural look, avoid heavy filters or excessive skin smoothing
Export in high resolution (at least 1080px wide) and crop based on the platform you’ll use the headshot for. For creatives using YouTube thumbnails, framing and polish should be optimized for thumbnail visibility.
Key Takeaways
- You can take professional headshots with an iPhone by using the right lighting, composition, and camera settings.
- Natural light and a clean background are essential for high-quality results.
Portrait mode helps create a polished, studio-like depth of field. - A tripod or steady surface ensures sharp, blur-free images.
- Dressing appropriately and using proper posture can elevate your headshot.
- Light editing with mobile apps or AI tools can help finalize a clean, professional look.
- With these steps, your iPhone becomes a powerful tool for creating standout headshots, no studio required. For further enhancement, try HeadShotly.ai’s AI-powered photo tools to bring your headshots to the next level.
Frequently Asked Questions
1. Can I take a professional headshot with my iPhone?
Yes, you can take a professional headshot with an iPhone. Modern iPhones have powerful cameras that, when paired with good lighting, framing, and posture, can produce studio-quality results. For niche roles like influencer headshots, AI tools can elevate your image beyond a basic selfie.
2. What lighting is best for iPhone headshots?
Soft, natural light is ideal for iPhone headshots. Position yourself facing a window or shoot outside in the open shade for flattering, even lighting. For stylized outputs like Ghibli-style avatars, soft light ensures AI captures details more accurately.
3. What background should I use for an iPhone headshot?
Choose a simple, uncluttered background that keeps the focus on your face. This improves results if you’re using AI refinements or posting on visual platforms like Reddit profile pictures.
4. What should I wear for a professional iPhone headshot?
Wear solid, neutral-colored clothing that reflects your professional image. If you’re targeting specific fields such as doctor headshots, your attire should match the expected industry presentation.
5. What are the best iPhone camera settings for headshots?
Use the rear-facing camera for higher resolution and turn on gridlines for better composition. Clean the lens before shooting and avoid zooming in. For detailed shots that need later enhancement using image-to-prompt generators, clarity is critical.
6. Should I use Portrait mode for iPhone headshots?
Portrait mode can add a nice background blur, but it’s not always perfect. If used, ensure you’re well-lit and have space behind you. For better precision, apply background edits using HeadShotly’s AI tools.
7. How should I pose for a professional iPhone headshot?
Angle your body slightly, relax your shoulders, and look at the camera with a soft, natural expression. Keep your chin slightly down and posture tall. Check how this translates to a Snapchat avatar photo or other social platforms.
8. How can I take a headshot of myself with an iPhone?
Use a tripod or stable surface to hold your iPhone at eye level. Set the self-timer so you have time to pose. For touchless shooting, Apple Watch helps. Once done, enhance the shot using HeadShotly.ai’s enhancement suite.
9. How can I edit my iPhone headshot to look professional?
Use apps like Snapseed or Lightroom to adjust exposure and tone. Then elevate the photo using HeadShotly.ai for features like outfit swaps and professional AI retouching tailored to industry needs.
Ready to Take Your iPhone Headshot to the Next Level?
If you’re looking for ultra-realistic, studio-quality results without expensive shoots or equipment, HeadShotly.ai can help. Upload your best iPhone photos, and our advanced AI transforms them into professionally styled headshots, complete with AI-enhanced lighting, outfit changes, background swaps, and tailored posing guidance for your industry. AI Professional Headshot Photo app: Instantly create polished, studio-quality portraits using AI technology
Get started today and upgrade your professional image in just minutes.
Visit HeadshotlyAI. Capture your best self smartly.
