
Professional headshots don’t require a full studio setup or a hired photographer. With the right techniques and some preparation, you can capture high-quality, professional headshots on your own. Whether you’re updating your LinkedIn profile, personal website, or business portfolio, this step-by-step guide will show you exactly how to do it right.
How to Take Professional Headshots
A step-by-step guide to help you capture studio-quality images, even from home.
A professional headshot is more than just a photo, it’s your digital first impression. Whether you’re looking to boost your online presence, apply for a job, or brand yourself professionally, having a polished and well-composed headshot makes a lasting impact. This comprehensive guide breaks down every detail you need to know to take your professional headshot with confidence.
Here’s what we’ll cover:
-
Choosing the right location
-
Picking the perfect outfit
-
Setting up proper lighting
-
Positioning the camera at eye level
-
Using a neutral or professional background
-
Practicing natural expressions and poses
-
Taking multiple shots from different angles
-
Editing and retouching thoughtfully
-
Saving and exporting the final headshot
Choose the Right Location
Lighting and surroundings make or break a professional headshot.
The location you choose significantly influences the final result of your headshot. A cluttered, poorly lit space can make even the best camera and outfit fall flat. Aim for a space that feels clean, professional, and well-lit.
Natural light is your best friend
Whenever possible, take advantage of natural light. Position yourself near a large window where soft daylight comes through. Natural light is flattering, evenly distributed and eliminates the need for heavy artificial lighting setups.
If you’re shooting outdoors, choose early morning or late afternoon, the golden hours. This time of day offers warm, diffused lighting that reduces shadows and highlights facial features evenly.
Avoid clutter
The background should be simple and free from visual distractions. A plain, light-colored wall, a minimalist office, or a simple outdoor scene can all work well. Avoid spaces with visible furniture, wall hangings, or excessive decor, as they can draw attention away from your face.
For added polish, try using the AI background remover to instantly clean up your surroundings without needing a physical studio.
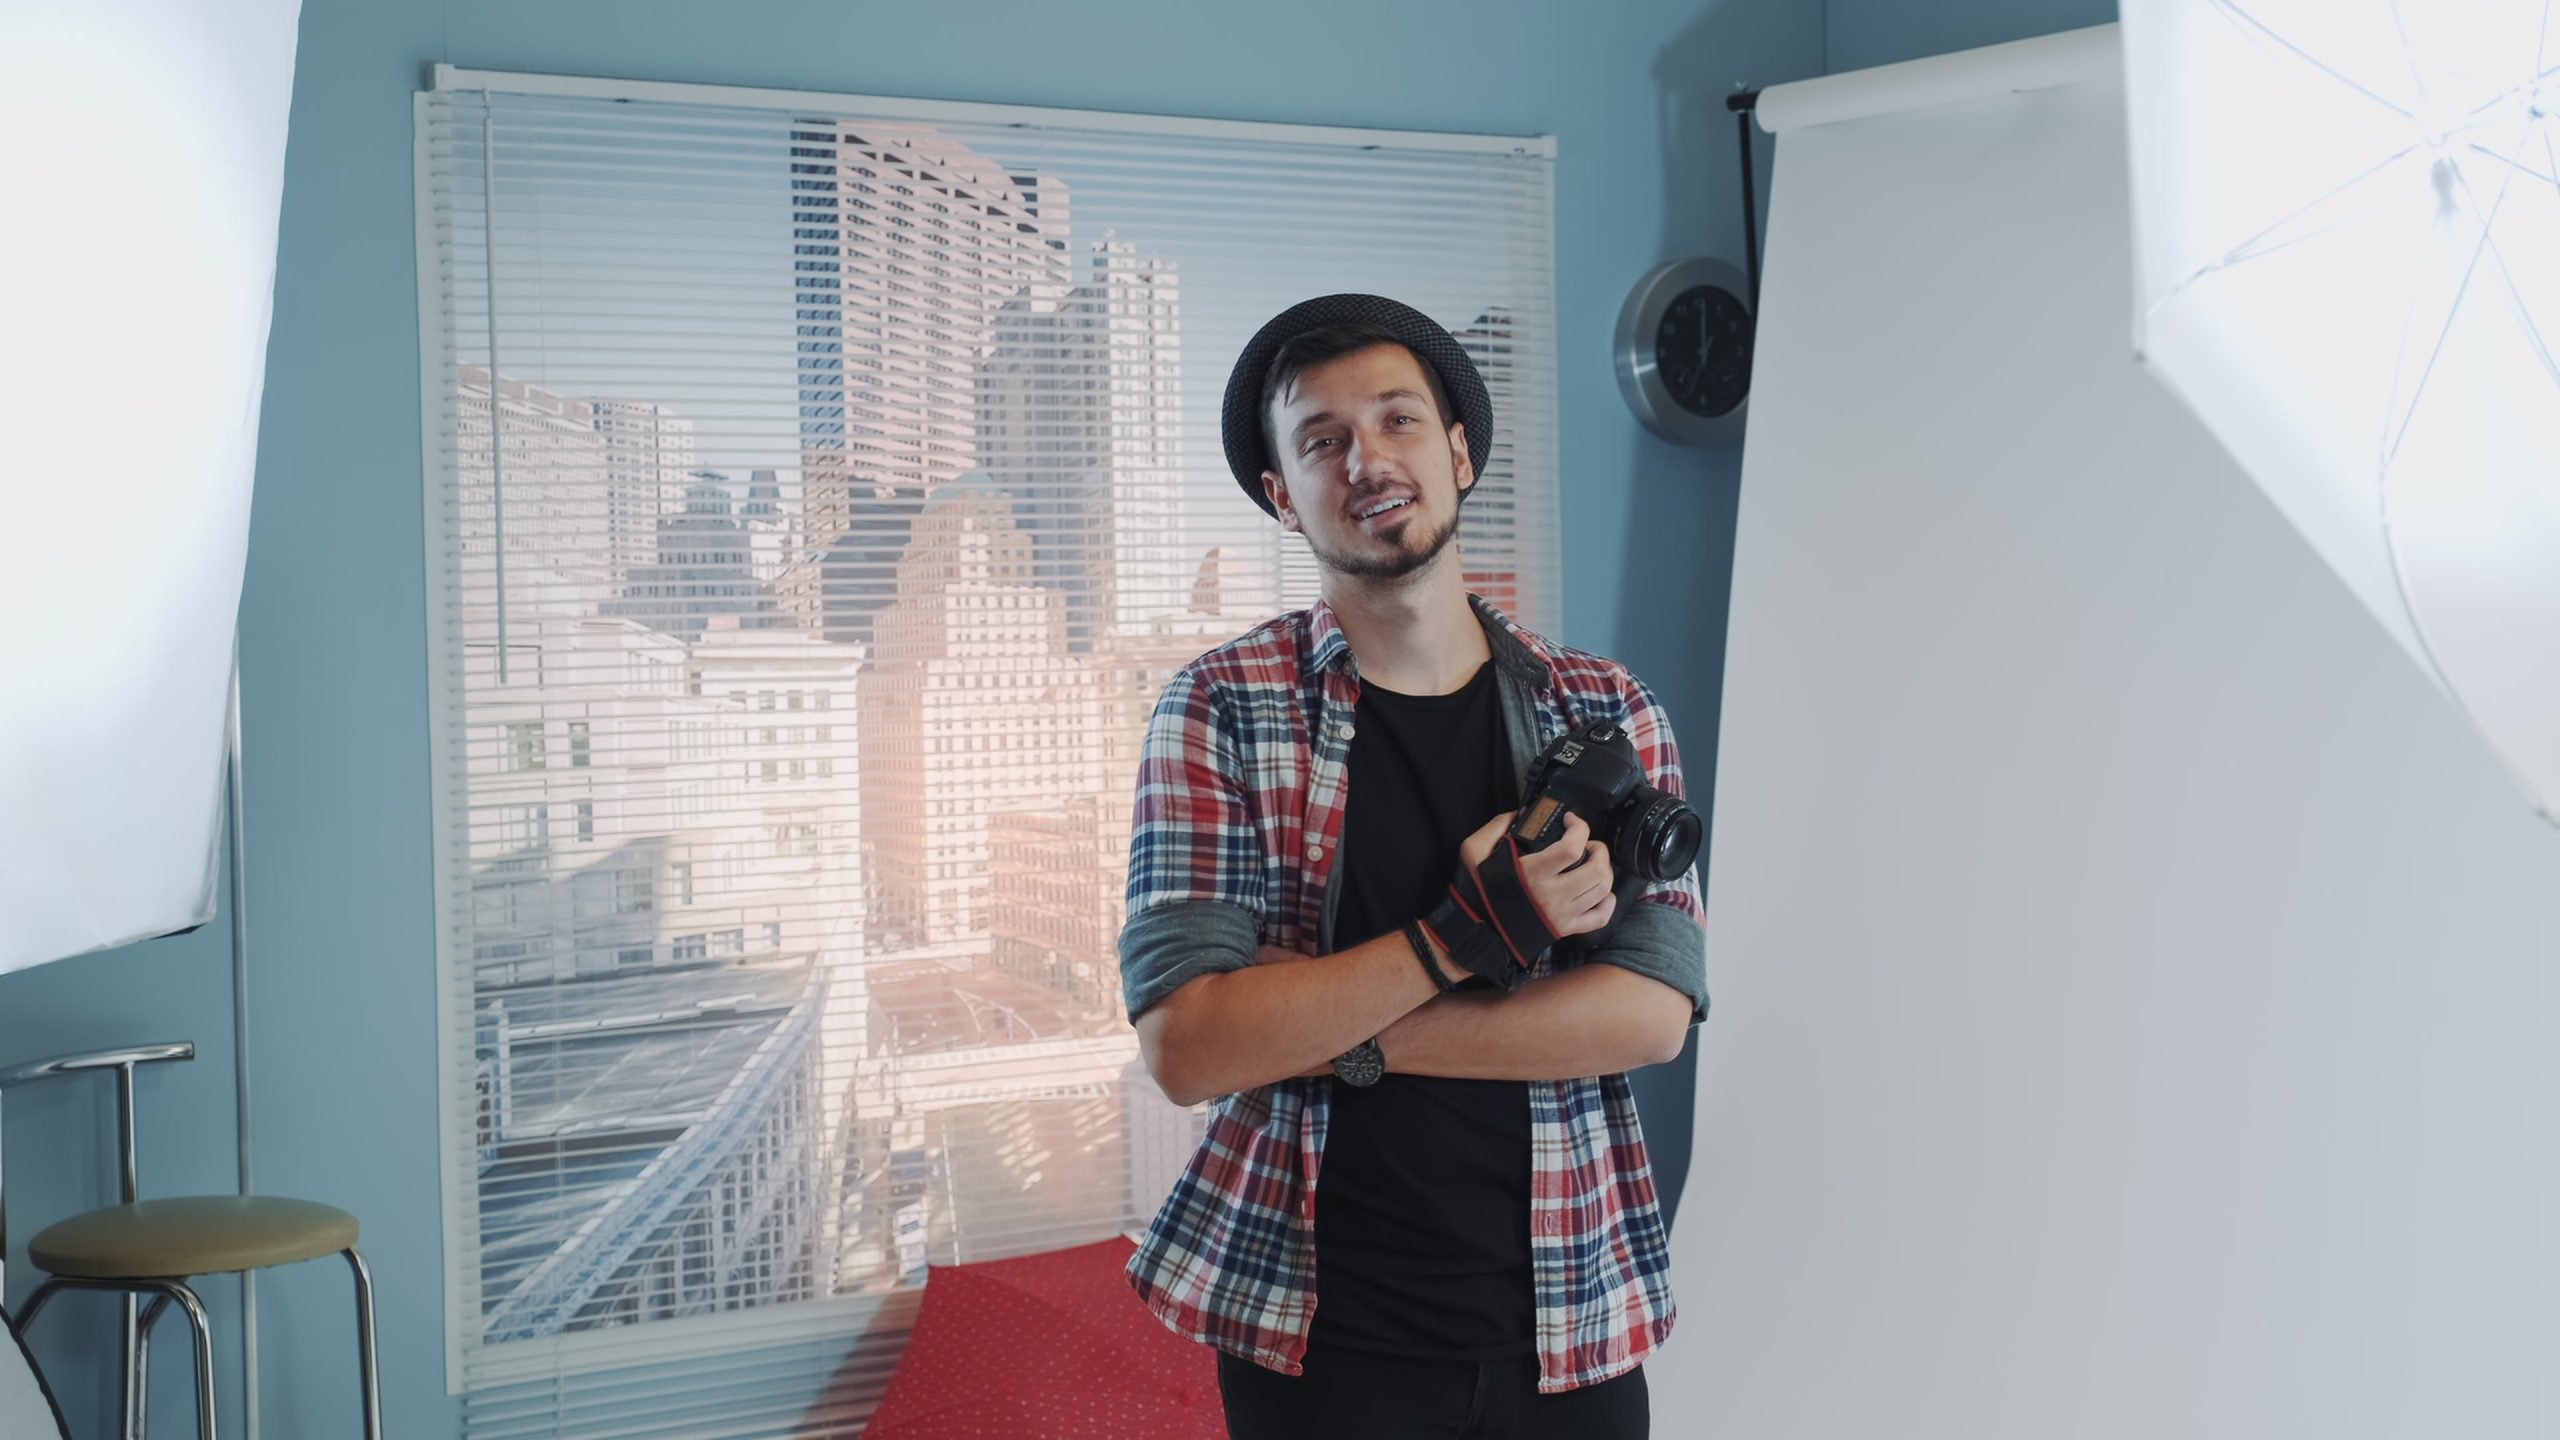
Pick the Perfect Outfit
Dress in a way that matches your profession and makes you feel confident.
What you wear directly influences the tone and perceived professionalism of your headshot. The goal is to look polished, approachable, and aligned with your industry.
Stick to solid colors
Solid, neutral, or jewel-toned clothing works best for headshots. These tones draw attention to your face and avoid clashing with the background. Stay away from loud patterns, bright neon colors, or clothing with brand logos, which can be distracting.
Dress for your role
Consider how you’d show up to a job interview or client meeting in your field. Are you a corporate professional, a creative freelancer, or a healthcare expert?
For example:
-
A lawyer might wear a dark blazer and a light shirt. See examples of lawyer headshots here
-
A designer could wear a smart-casual outfit with character
-
A coach or consultant might go for an approachable, neat-casual look
Also, consider layering, like wearing a jacket or cardigan, for added visual structure and style.
Set Up Proper Lighting
Good lighting defines facial features and creates a polished look.
Even the most expensive camera can’t save a photo with poor lighting. Proper lighting enhances your facial features, reduces shadows, and gives your headshot a clean, professional finish.
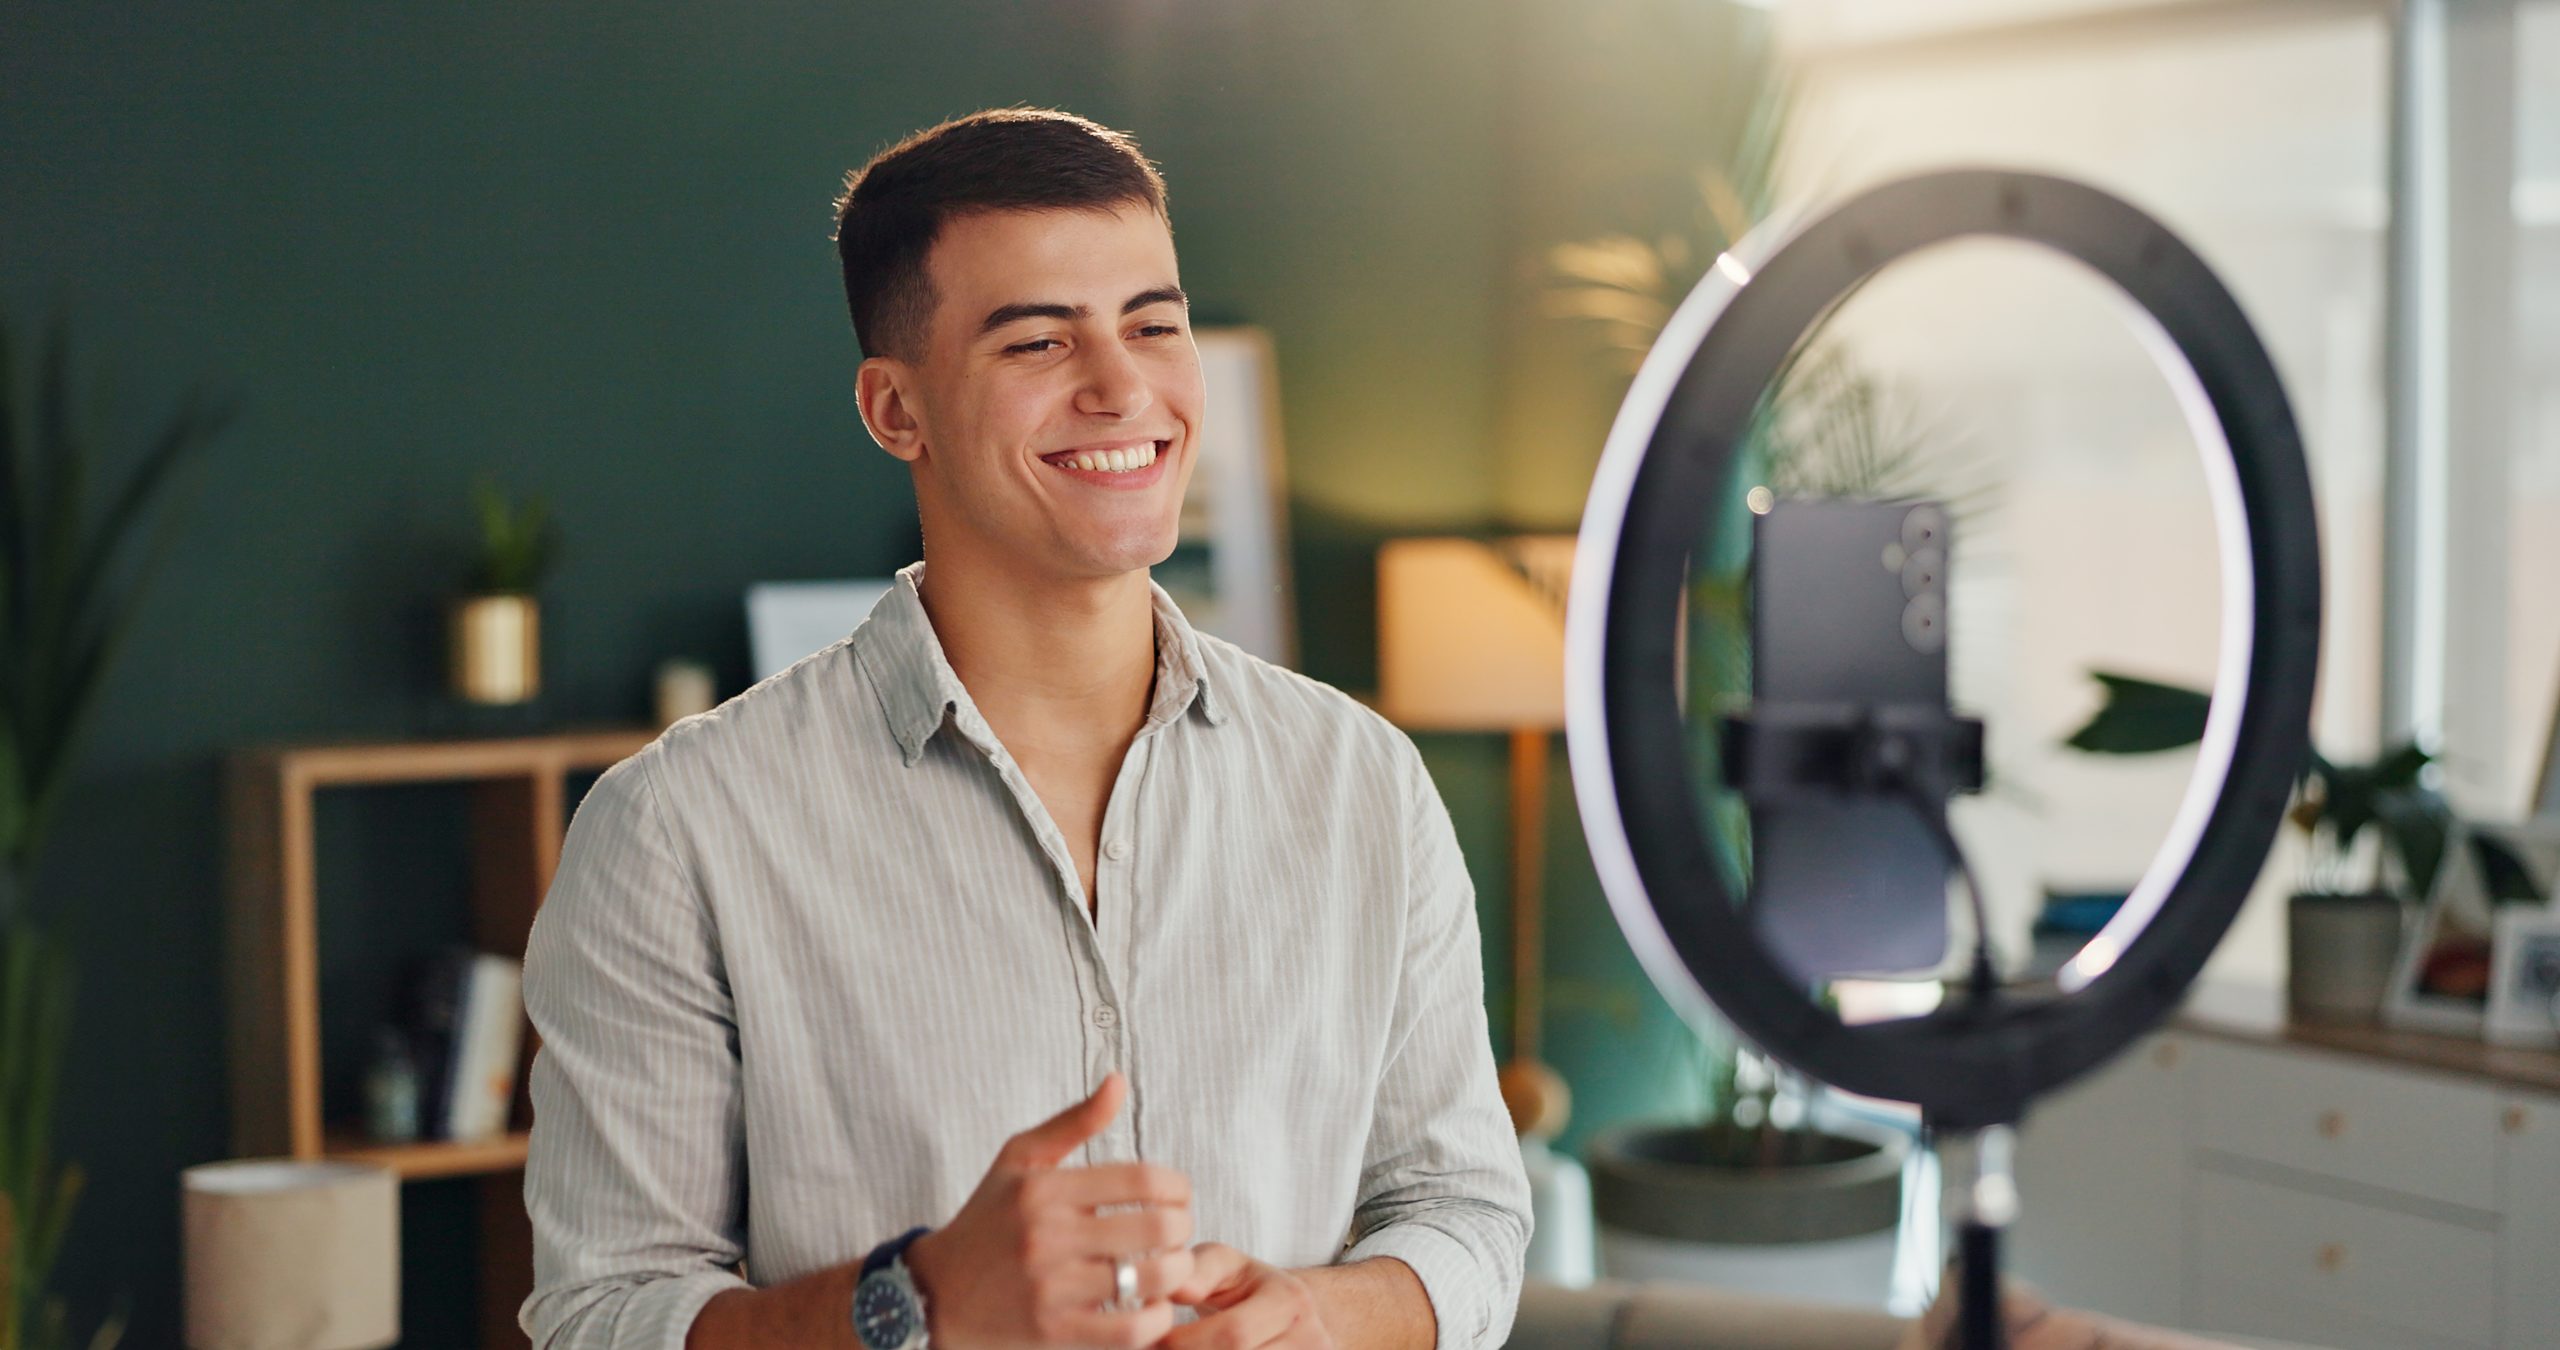
Use soft, even lighting
Avoid harsh, direct lighting that casts deep shadows. Instead, opt for soft, diffused light. If you’re using artificial lights, consider softboxes or ring lights with adjustable brightness. Position the light source slightly in front and above your face to add depth and eliminate shadows under the eyes or nose.
Face your light source
Always position yourself facing the light to achieve an even tone across your face. If one side of your face appears too shadowed, try using a reflector or even a white poster board to bounce some light back in.
If you’re editing after the shoot, tools like our AI photo enhancer can fix underexposed areas and bring out the natural lighting you intended.
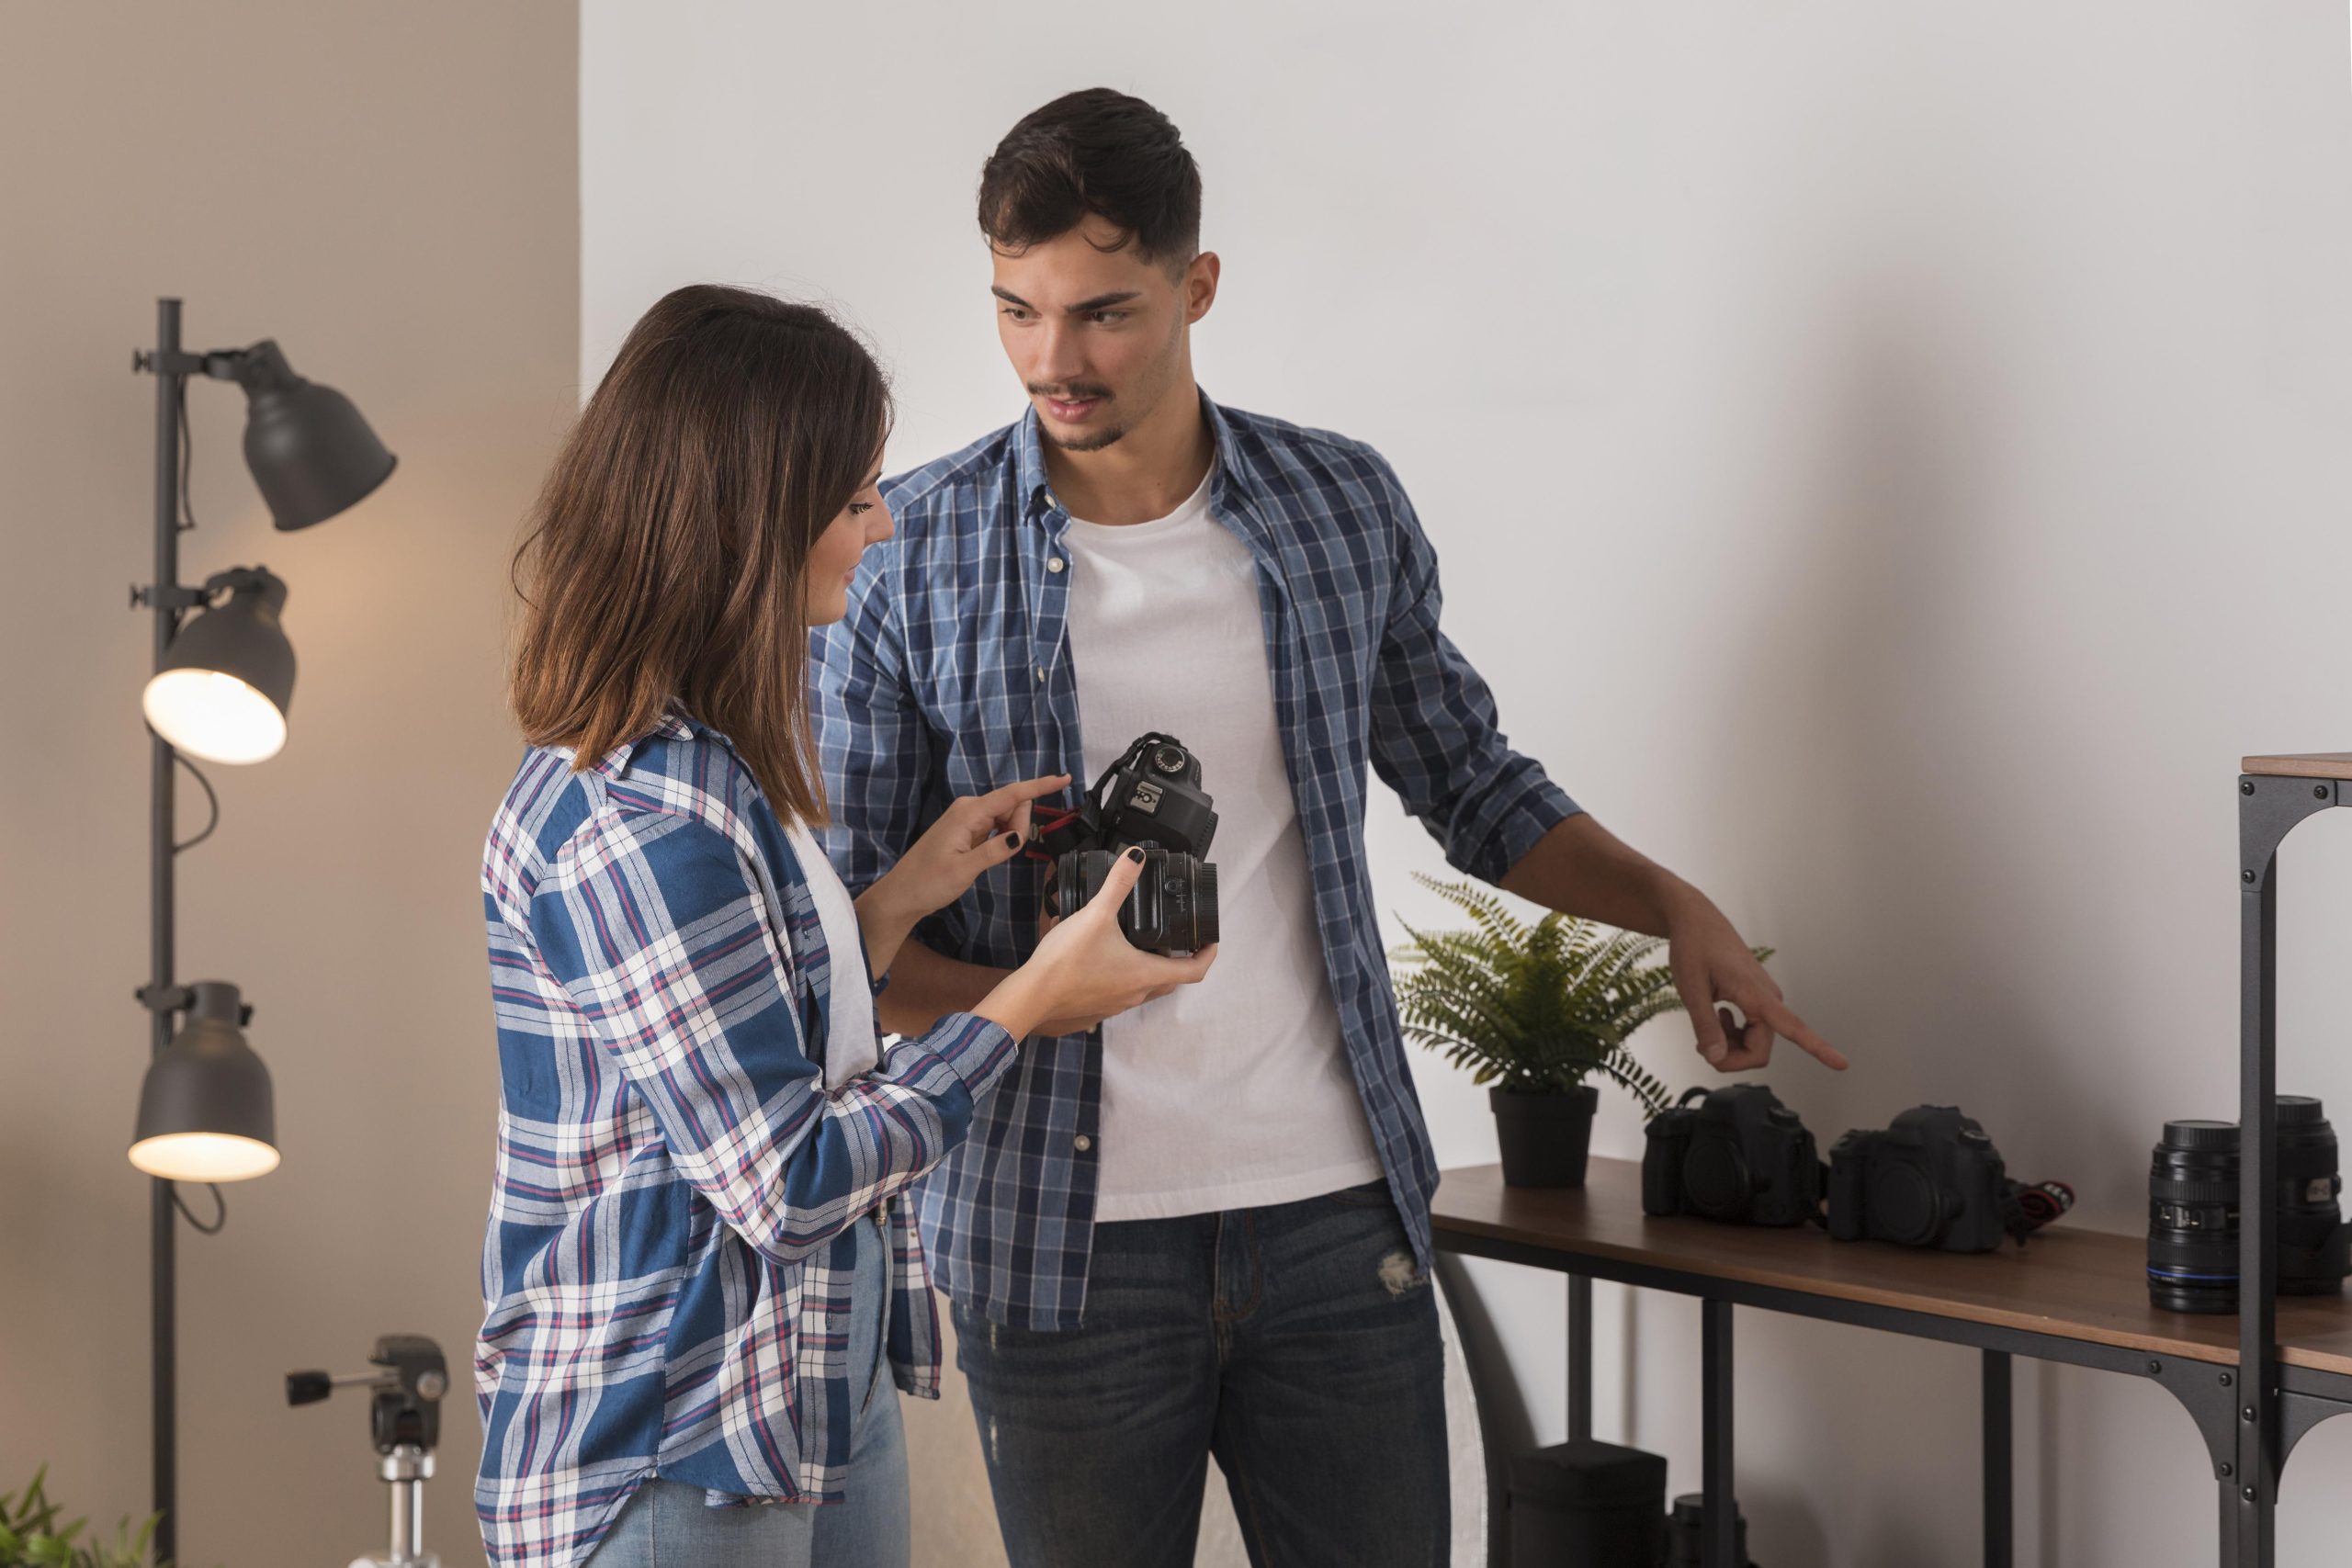
Position the Camera at Eye Level
This creates a natural, flattering angle.
A common mistake in DIY headshots is camera positioning. The lens should be at eye level to avoid unnatural angles or distortions.
Use a tripod or stable surface
If you’re using a DSLR or phone, mount it on a tripod. Alternatively, prop it on a stack of books or a shelf at the right height. Make sure it’s sturdy and won’t shift between shots.
Avoid handheld selfies
Holding the camera distorts facial proportions and creates awkward angles. Instead, use your phone’s timer or a remote shutter to take hands-free photos.
Make sure the camera is level with your eyes. Tilted angles, either from above or below, can make you look unprofessional or disengaged.
For those using mobile phones, check out our tool for LinkedIn-ready headshots to turn smartphone images into corporate-quality results.
Use a Neutral or Professional Background
Clean, uncluttered backgrounds keep the focus on you.
The background should support your image, not compete with it. A neutral or slightly blurred background keeps the attention on your face while still offering a professional aesthetic.
Options to consider:
-
Solid white, grey, or beige walls
-
Textured but neutral backdrops (wood panels, brick walls)
-
Lightly blurred office spaces for context
-
Outdoor backgrounds with soft greenery or architecture
Want something more creative for personal branding? Try our Ghibli-style AI headshots to mix charm with professionalism in a stylized environment.
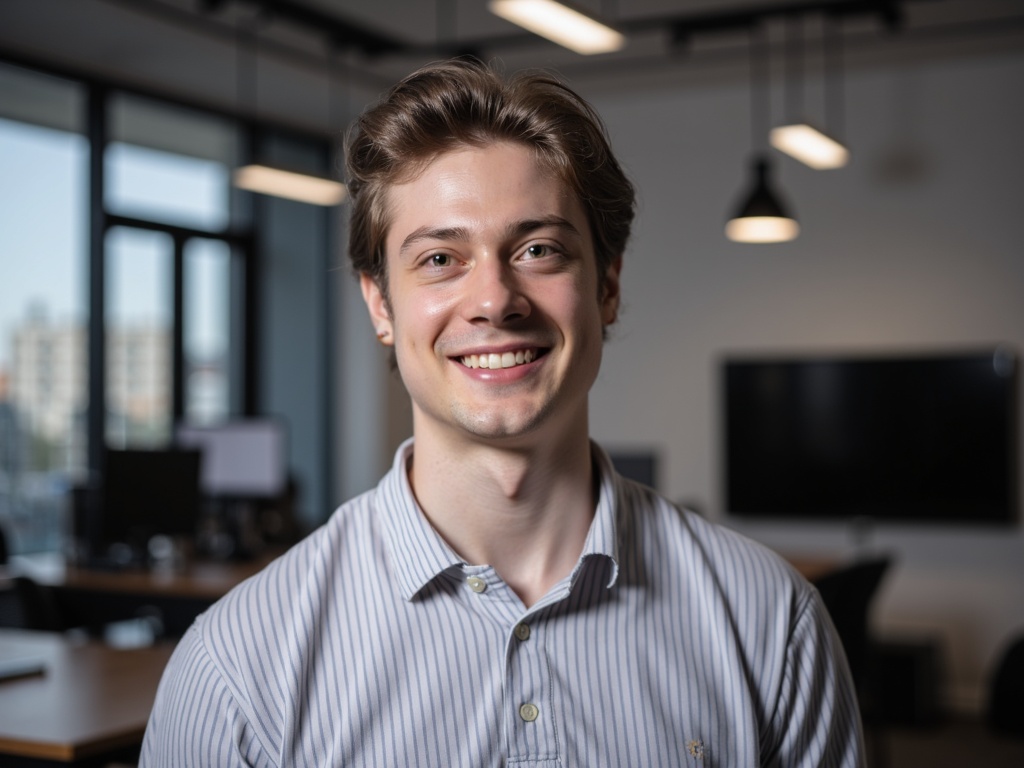
Practice Natural Expressions and Poses
Genuine expressions build trust and make you look approachable.
Your facial expression and posture communicate just as much as your clothing or lighting. Aim to look confident, friendly, and relaxed.
Relax and breathe
Before taking photos, take a few deep breaths and roll your shoulders back. Keep your posture upright but natural. Avoid slouching or stiff posing.
Try subtle angles
Instead of facing the camera dead-on, turn your shoulders slightly and angle your head gently. This adds dimension and helps define your jawline. Practice in front of a mirror to find the angle that flatters you best.
Smile naturally
You don’t need to grin from ear to ear. A soft, genuine smile is enough to create a warm, confident presence. Think of something that makes you happy to bring out a natural look.
Coaches, influencers, and speakers who need charisma in their photos can explore our influencer headshot styles for visual references.
Take Multiple Shots from Different Angles
You want a variety to choose from.
Don’t settle for just one photo. Take a variety of shots with different angles, lighting adjustments, and expressions.
Try different compositions
Take both vertical and horizontal photos. Vary your distance from the camera, some shots are tighter on the face, and others with a bit more upper-body context.
Mix expressions
Capture a few versions of you smiling, looking thoughtful, or appearing more serious depending on your needs. These different expressions can suit different platforms, from a casual personal blog to a corporate directory.
For more playful options beyond professional platforms, try our Snapchat avatar maker to diversify your personal branding.
Edit and Retouch Thoughtfully
Enhance your image without overdoing it.
Editing is not about transforming your face, it’s about making small tweaks to polish your image. The goal is to maintain realism while refining your final headshot.
Focus on natural corrections
Adjust brightness, contrast, sharpness, and color balance to enhance the image. Lightly remove blemishes, flyaway hairs, or dark under-eye shadows using trusted software.
Use trusted editing tools
Professional tools like Adobe Lightroom or Photoshop offer advanced editing options. If you prefer simpler tools, apps like Snapseed, Canva, or AI-powered editors can help you achieve great results quickly.
If you’d rather skip editing altogether, you can try our studio-quality AI headshots that are professionally styled and enhanced without manual work.
Save and Export the Final Headshot
Make sure your image is ready for the web or print.
Your high-quality image is only useful if it’s saved in the correct format and resolution.
Use high-resolution formats
Save your headshot in JPG or PNG format at a resolution of at least 1000×1000 pixels. This ensures it looks crisp on both web and print materials.
Prepare for platforms
Each platform may have different requirements. Crop square (1:1) for LinkedIn or company directories, or vertical (4:5) for portfolios and resumes. Consider keeping a version with a transparent background if you plan to use the photo on layered design assets or ID badges.
You can also create a matching visual identity with tools like our AI email signature generator for a unified brand across communication channels.
Key Takeaways
Capturing a professional headshot doesn’t have to be complicated or expensive. With the right setup, lighting, and attention to detail, you can create high-quality images that represent you professionally across platforms.

-
Choose a clean location with great natural light or soft artificial lighting
-
Dress appropriately for your industry in solid, neutral tones
-
Keep the camera at eye level and use a plain or professional background
-
Practice relaxed expressions and confident poses
-
Take multiple shots to give yourself options
-
Lightly retouch your final image and export it in the correct format
FAQs
1. What is the best way to take a professional headshot at home?
The best way to take a professional headshot at home is by using natural lighting near a window, positioning the camera at eye level, using a clean background, and dressing professionally. Combine these with good posture and soft facial expressions for a polished, confident result.
You can also enhance the results with minimal editing and multiple takes to choose the best version & take high-quality headshots without professional gear
2. Who needs a professional headshot?
Anyone building a personal or professional brand online should have a professional headshot. This includes job seekers, business owners, freelancers, corporate professionals, actors, coaches, and public speakers.
A strong headshot helps establish credibility and trust, especially on platforms like LinkedIn, websites, business cards, or online portfolios.
3. What should I wear for a professional headshot?
Wear solid colors that contrast well with your background and reflect your industry. Avoid busy patterns, logos, or overly casual clothing.
Dress as you would for an important meeting in your field. Layers like blazers or cardigans add depth and polish, and subtle accessories can help personalize your look.
4. What is the best lighting for headshots?
Natural light from a large window is ideal for headshots. It provides soft, even lighting that flatters the face.
If shooting indoors or at night, use a ring light or softbox positioned in front of you. Avoid harsh overhead lights that cast shadows or flatten facial features.
5. How do I pose for a professional headshot?
For a great headshot pose, stand or sit upright, keep your shoulders relaxed, angle your body slightly, and maintain a soft, confident expression.
Practice subtle smiles and experiment with different angles. The key is to look natural, comfortable, and engaged with the camera.
6. Can I use a phone to take a professional headshot?
Yes, modern smartphones can take excellent headshots if used properly. Use the rear-facing camera, stabilize the phone with a tripod, and enable portrait mode if available.
Combine this with proper lighting, a clean background, and editing to ensure the final image meets professional standards.
7. What makes a headshot look unprofessional?
Unprofessional headshots often have poor lighting, messy backgrounds, awkward expressions, low image quality, or overly casual clothing.
Avoid selfies, blurry images, and distracting elements. A polished headshot should be sharp, well-lit, composed thoughtfully, and aligned with your brand or industry.
8. How should I edit a professional headshot?
Edit your headshot lightly to enhance brightness, contrast, and sharpness. Remove small blemishes or stray hairs, but don’t overdo skin smoothing or color filters.
Use tools like Lightroom, Snapseed, or Photoshop for more control. Aim for a natural and authentic look that still feels polished.
9. What background is best for a headshot?
Neutral or slightly blurred backgrounds work best for headshots. Solid colors like white, grey, or beige keep the focus on your face.
Minimalist office settings or soft outdoor backdrops can also work, as long as they don’t distract from the subject. Avoid cluttered or overly colorful backgrounds.
10. How often should I update my headshot?
Update your professional headshot every 1 to 2 years or sooner if your appearance changes significantly.
You should also consider refreshing your headshot when changing roles, industries, or branding direction to keep your image aligned with your current goals and presentation.
Ready for Effortless, AI-Enhanced Headshots?
If you’re short on time or want studio-quality results without the hassle, let advanced technology do the work. With Headshotly.ai, you can upload a few selfies and get AI-generated, ultra-realistic professional headshots in minutes. No lighting kits, no awkward poses, and no editing headaches.
Explore stylized outputs like our Ghibli character transformation tool if you want to merge creativity with a personal touch.
Join thousands of professionals upgrading their image the smart way.
Get your professional AI headshots today at Headshotly.ai